Everything is better with bacon….plus a Greek delight!

Standard

Hey hey hey readers 🙂  Today I bring you a sweet and salty treat and a Greek burger with some nontraditional, yet traditional side dishes!  WINNING for the taste buds!!!!!!

Now, hopefully you read my last post about peanut butter cookies….well the man I made them for LOVED them, but he loved them even more when I added BACON this time!!!!

The ONLY problem I had was that I burned the first batch…400 was WAY too hot for baking cookies, but in an effort to give an accurate review…I followed the recipe and definitely turned it down to 350…or you could even do 325 for a little longer.  (PS: I cant find the original recipe I used bc this one says 350…but the ingredients are exactly the same)

http://www.thesweetslife.com/2010/11/peanut-butter-bacon-cookies.html

Ingredients:
-1 cup smooth peanut butter (I use skippy natural honey)
-1/2 cup brown sugar
-1/2 cup granulated sugar
-1 egg (I use liquid egg whites)
-1 tsp baking soda
-6 slices of bacon, cooked, cooled, and diced   (I cooked mine in the microwave on paper towels!  NO grease, easy cleanup)

Directions:
1. In a skillet over medium high heat, fry bacon until cooked through. Allow to cool on paper towels to drain grease and then dice into small pieces. Set aside.
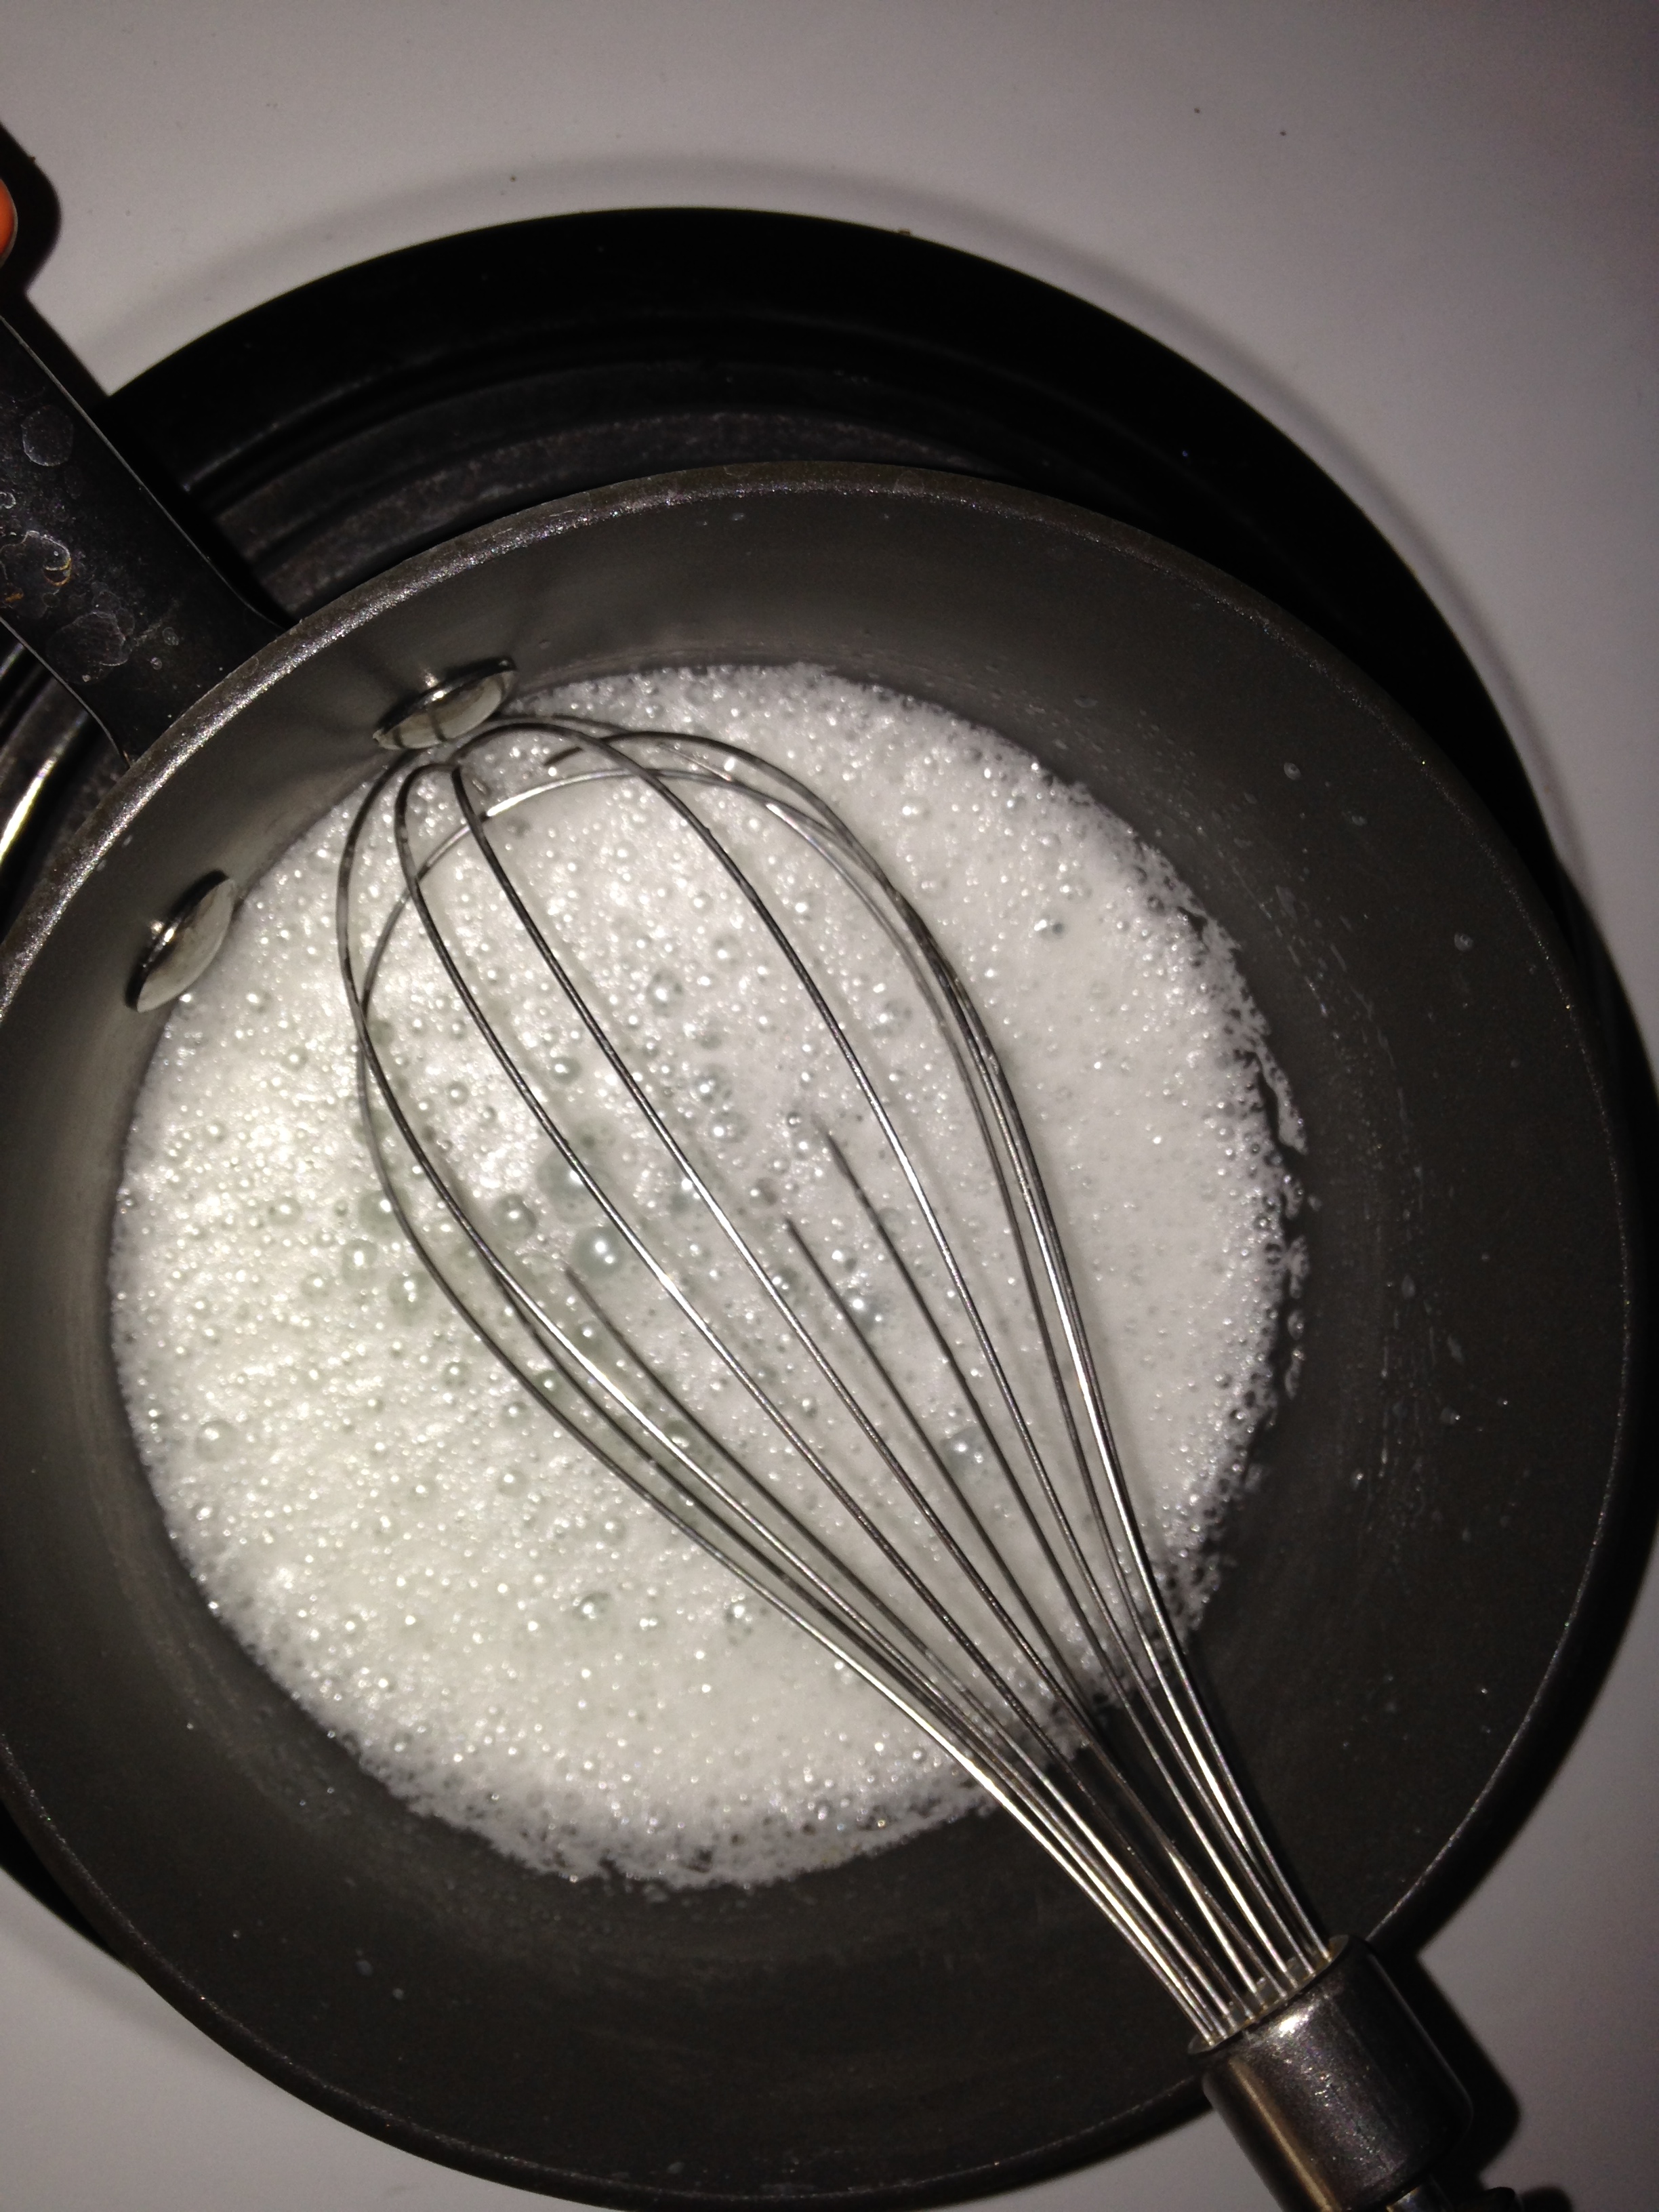
2. Preheat oven to 350F. Grease two baking sheets and set aside. In a mixing bowl, combine peanut butter and sugars until well mixed. Add egg and baking soda, mixing for another two minutes. Fold in bacon, reserving a small handful of pieces for topping.  (I kept 2 pieces out and pressed small pieces into the dough before I put them in the oven!)
3. Roll dough into small balls and roll in granulated sugar. Using a fork, create a criss-cross pattern on each cookie. Top each cookie with a few reserved bacon pieces. Place cookies on prepared baking sheets with 2-3 inches between (they spread a bit).
4. Bake for 10 minutes, until lightly browned. Allow to cool on a baking sheet.

These are PRE oven! haha  but still look so good)

bacon cookies

Now for dinner!!!!

photo 1 (1)

Greek Burgers with tzatziki sauce:  Easy and TASTY!

http://www.tasteofhome.com/recipes/greek-style-chicken-burgers

I couldn’t find ANY ground chicken here, so I used ground turkey…worked like a charm.  I also added some feta to my burgers, where the recipe doesn’t call for it.  Note: I didn’t use buns, rather I placed the burger on a thick slice of tomato and then topped with the sauce.  Made 6 burgers….so delish and they reheated well!

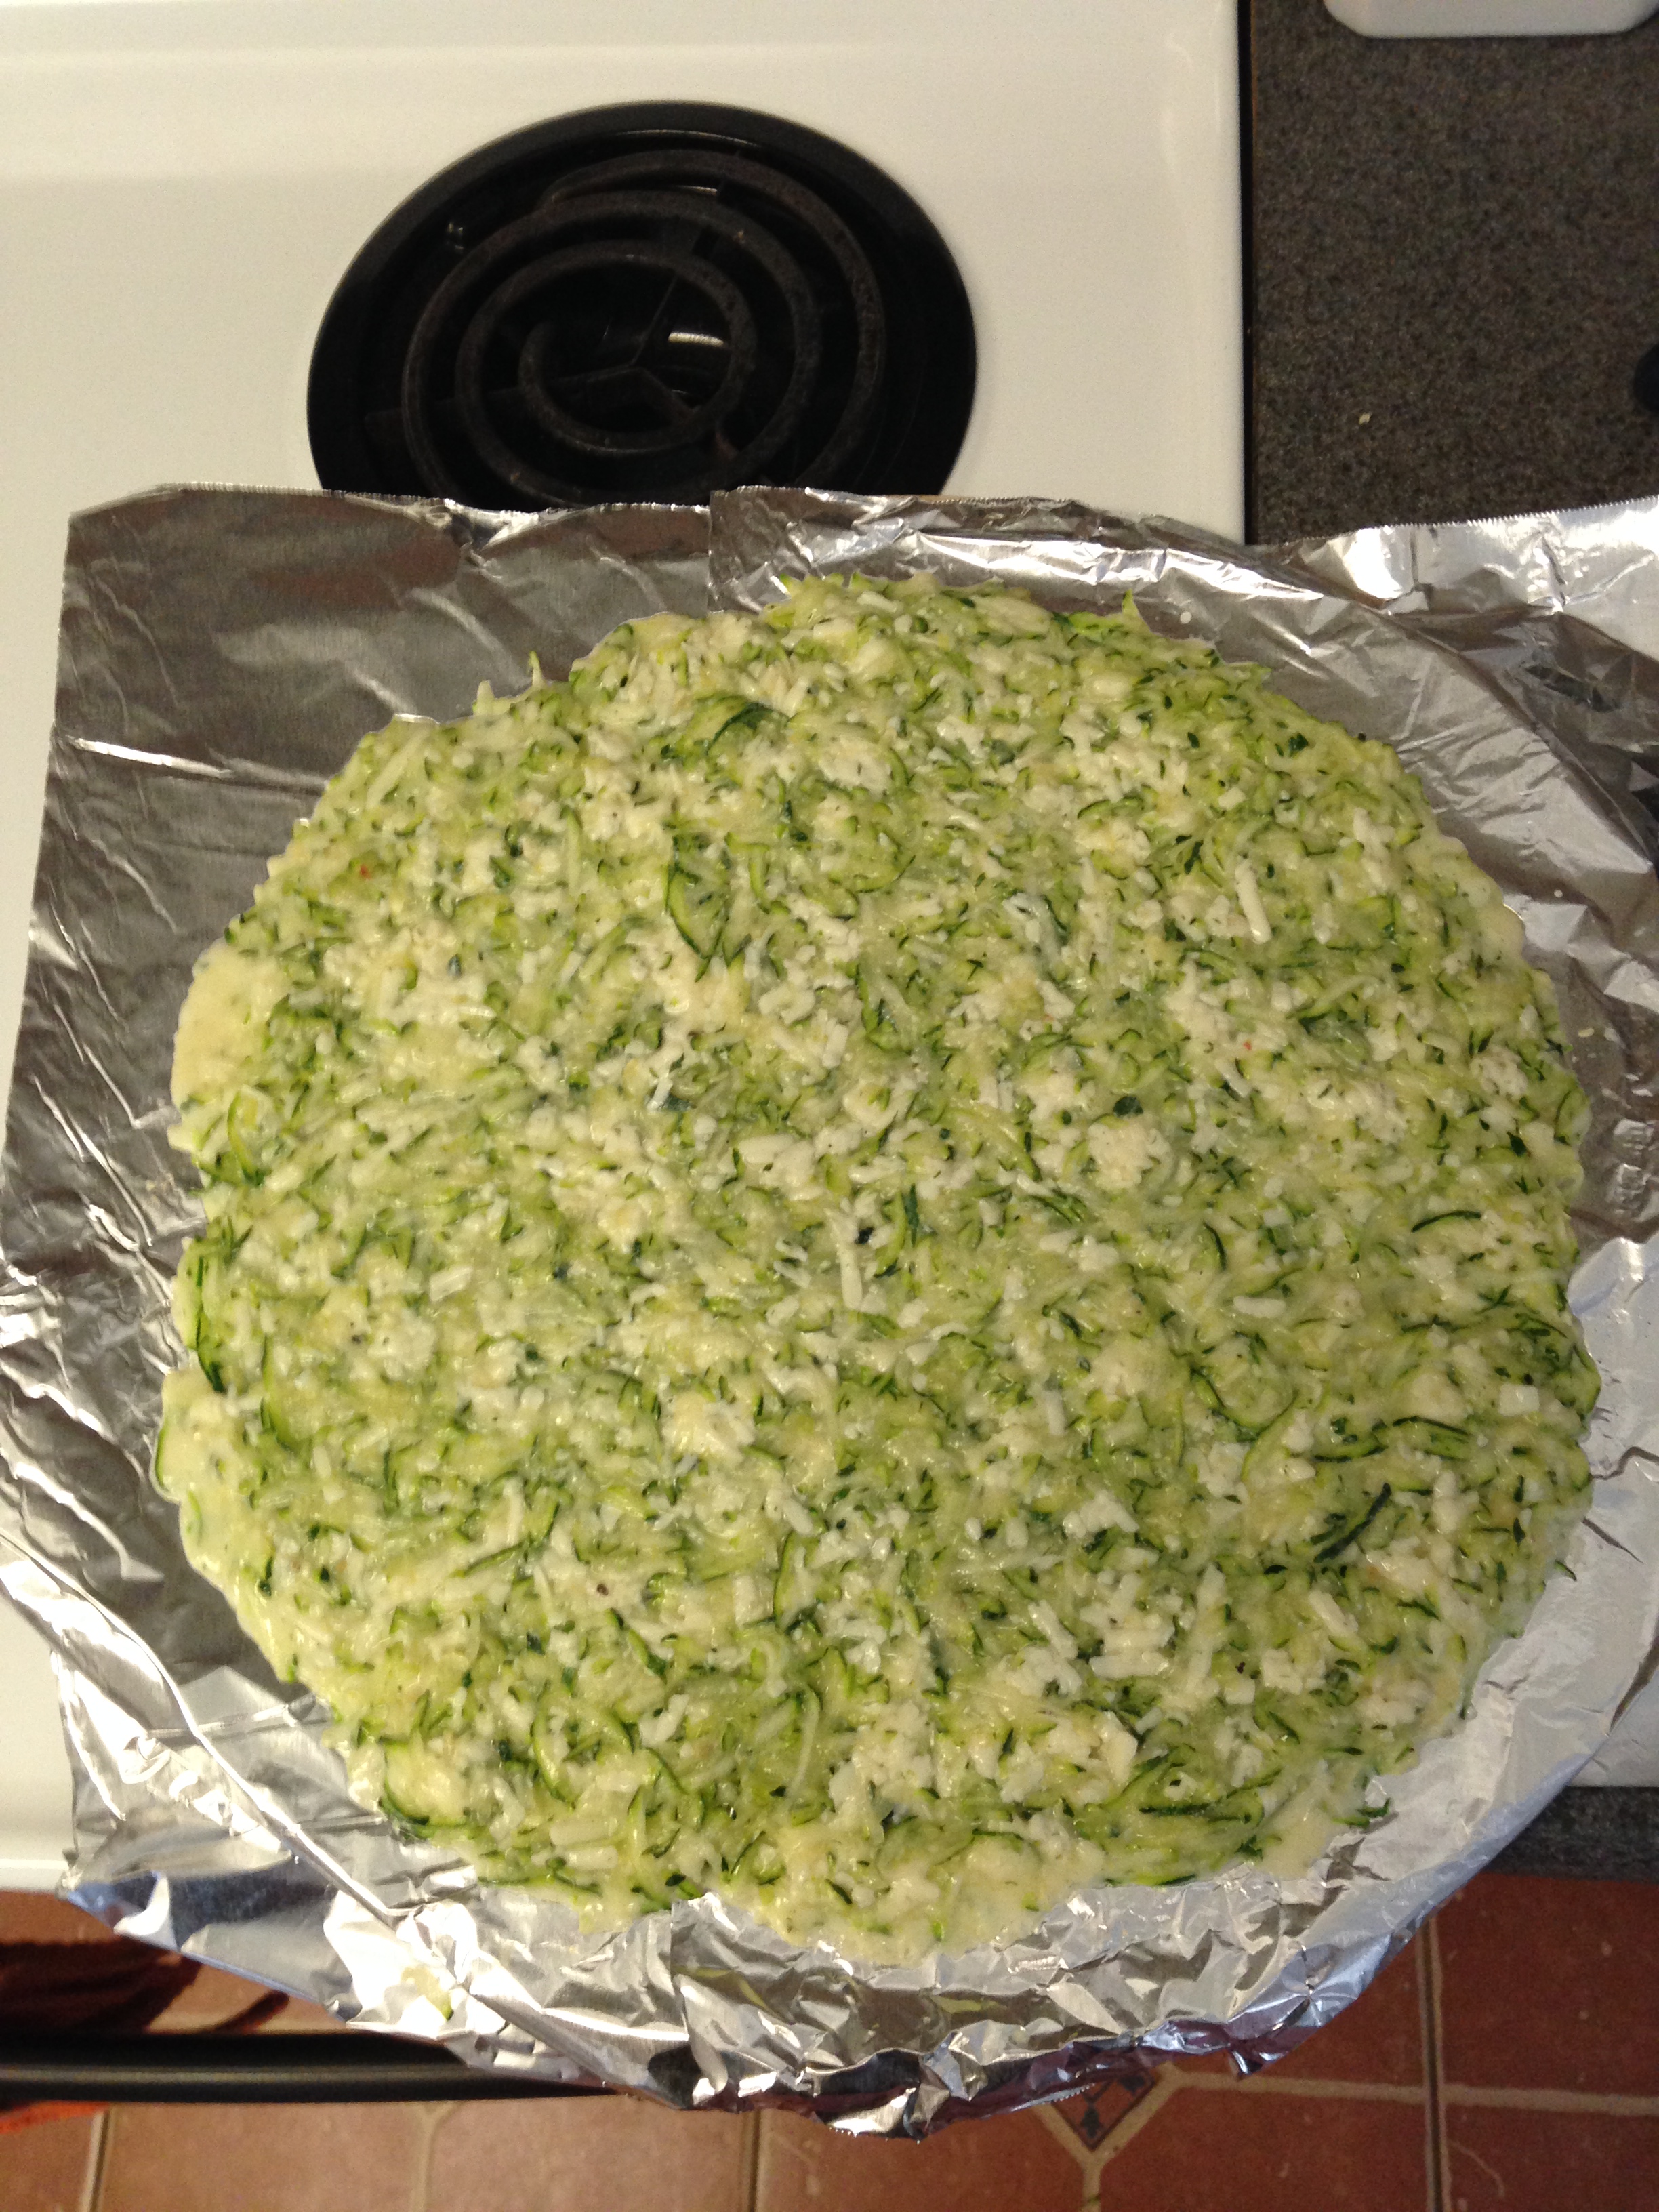
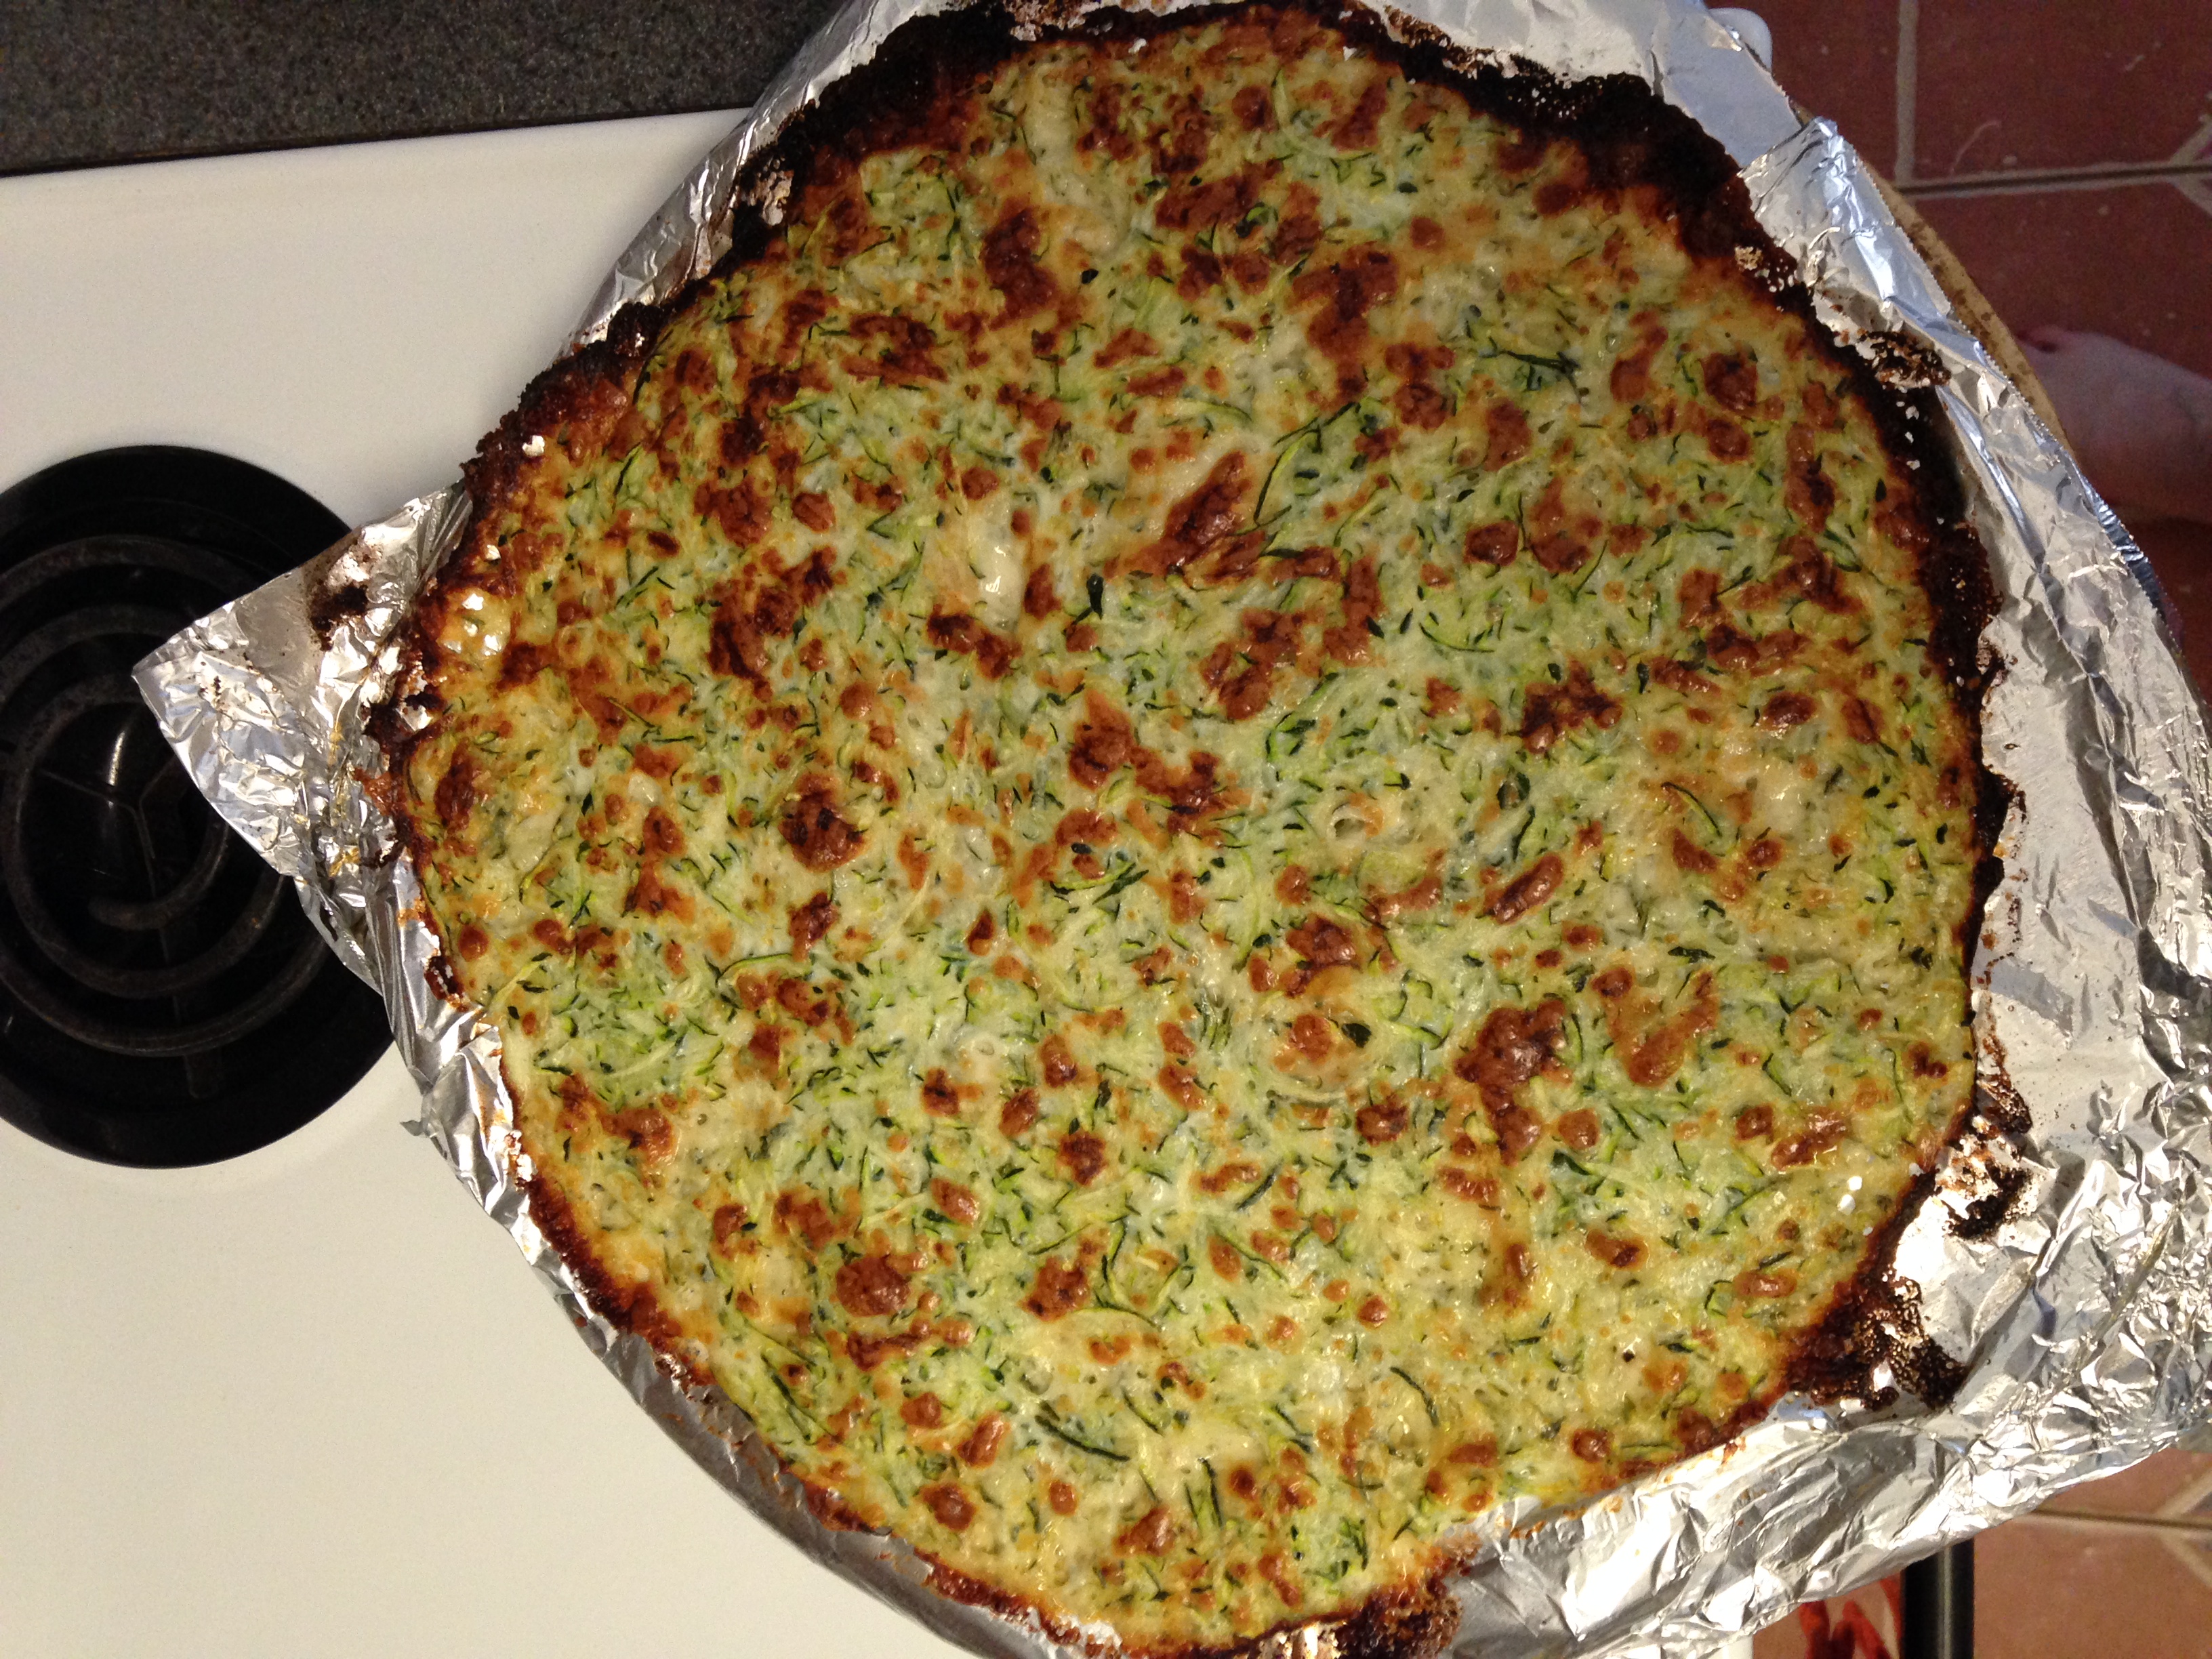
Zucchini Casserole:  EASY, TASTY and I WANT MORE!!!!!

Ok, so I cannot find the recipe but I remember it bc it was SUPER easy!

sliced zucchini (I used two medium and sliced thin round slices)

1 medium sweet onion (cut in half and slice thin)

1 cup mayonnaise

1/2c sharp cheddar cheese

1 egg (I use liquid egg whites)

1/2c parm cheese

1/2 tsp salt

black pepper (I use a lot)

Mix everything but the zucchini and onion in a dish.  Spray a casserole dish with non-stick spray (I used a round Pyrex dish) and layer the zucchini slices (overlapping), then add a layer of the sauce and a layer of the onions.  Repeat until you use all of the ingredients.  Top with a thin layer of parm cheese…bake at 350 for 30 min or until bubbly and brown 🙂  Let sit for 5min before serving.

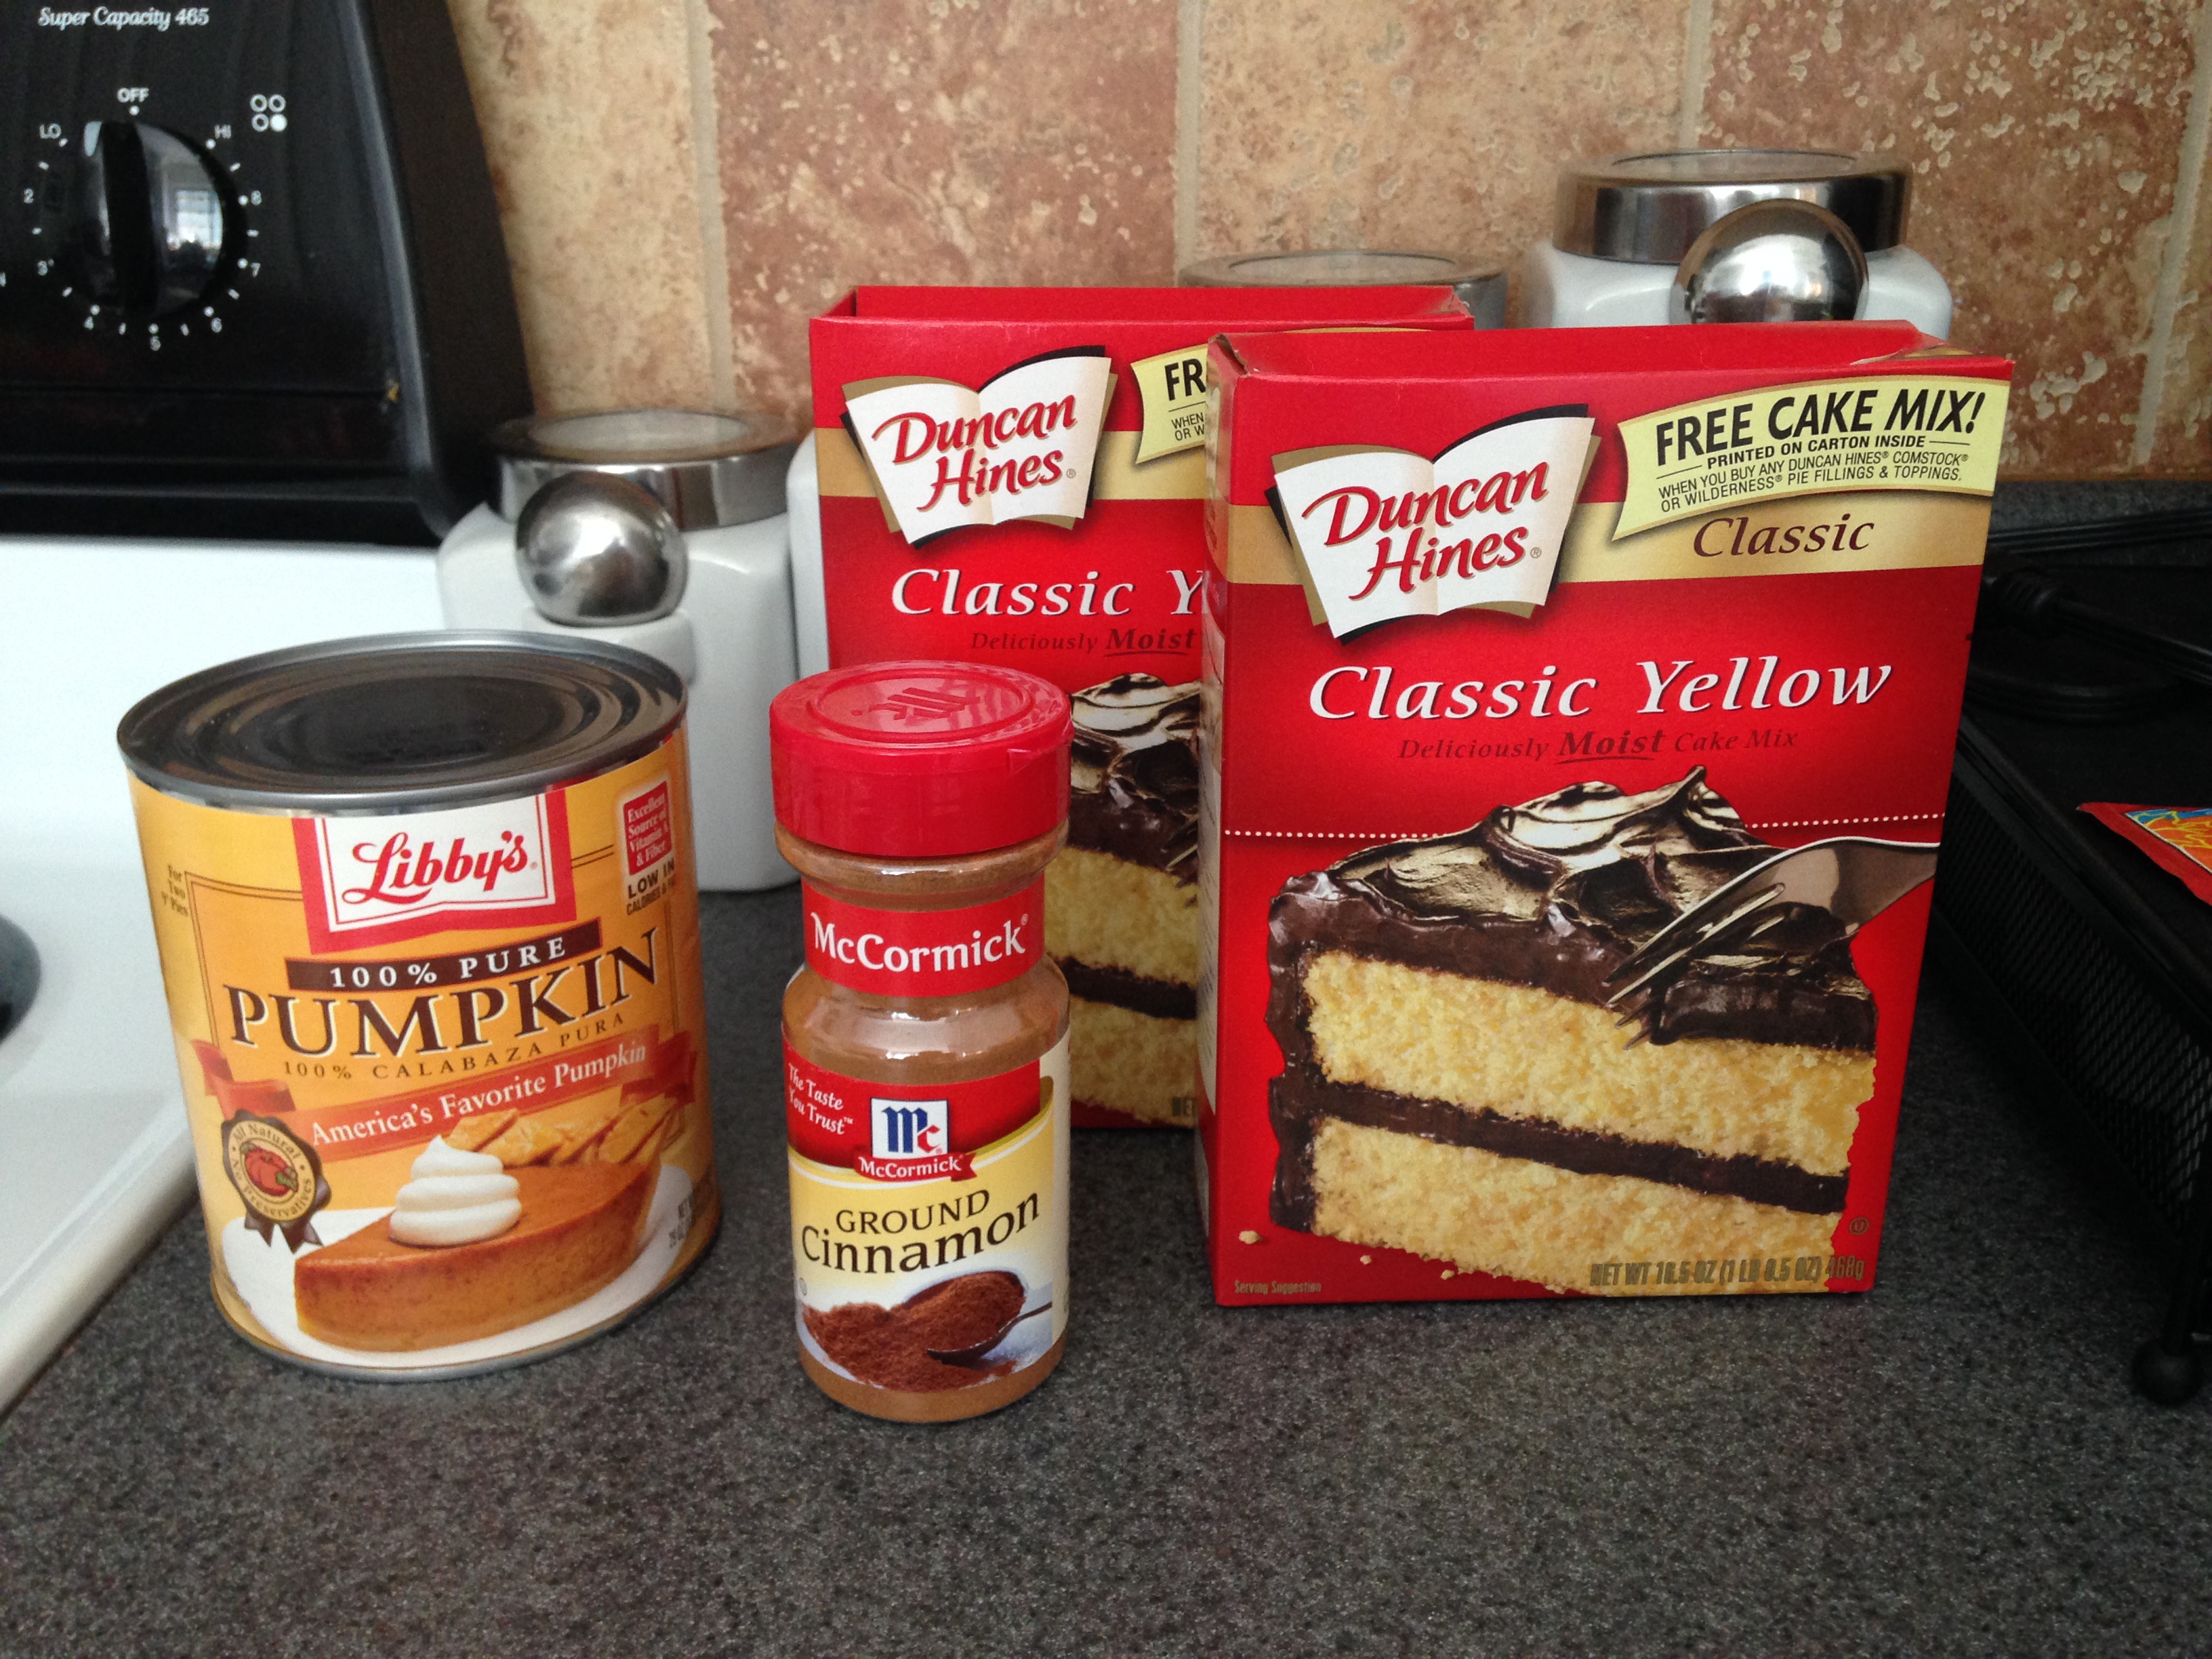
Butternut Squash Mac n Cheese:  EASY and TASTY

Again cannot find the recipe but I remember it bc it was SUPER easy!

called for rigatoni but I used penne (3/4 box)

2 boxes of frozen mashed butternut squash

1/2c chicken stock

1/2 reduced fat milk (I used half and half)

heat until incorporated, then add the cheese:

1/2 cup sharp cheddar

1/2 cup Monterey jack

once melted, add 1/2tsp of cayenne and 1/2tsp of nutmeg.  Also, I added a hefty amount of black pepper and maybe 2tsp of salt.

Stir the mixture into your drained noodles. EAT!!!!

Suggestions: if you want a more cheesy mac n cheese, only use 1 box of squash.

Cayenne was AWESOME but eliminate if you want.

Well, I hope you enjoy your dinner!!!!  Remember to check out my pinterest page:

Happy Eating!!!!!!

Flourless PB Cookies, Nutella Cookies, PB Glaze, Creamy Balsamic….YUMMM!

Standard

WOW!  I am slacking on my Pinterest activity…graduate school has slowly taken over my life and I am struggling to keep my sanity.  Had to take a breather though and make myself some treats 🙂  So here goes nothing!!!

Flourless PB Cookies: Ease of preparation- 10 Taste- 8

These cookies had great peanut butter taste, but they weren’t very fluffy or soft…one of the things I love about peanut butter cookies.

1 cup peanut butter (I used natural peanut butter)

1 cup sugar

1 whole egg (I used liquid egg whites)

splash of vanilla (I added this outside of the recipe)

Mix, roll into balls, smash with a fork, bake at 350 on an Ungreased cookie sheet.  I baked mine for 10min…the recipe says 18min, so I’m assuming they had bigger cookies.

I also tasted the dough (I know that’s a no no with the eggs), but it was a tad sweet for my taste.  Next time I will cut down on the sugar a bit…maybe 1/2 cup.  Also, the natural peanut butter is a different consistency than the regular processed brands, so I wonder if that was part of the texture problem…

I did add the peanut butter glaze to these (see recipe later in the blog and later pic)…which amped up the peanut butter flavor and gave them some moisture.

IMG_0990

Nutella Cookies: Ease of preparation – 10  taste – 10

These were a HUGE hit and adding the peanut butter glaze was a definite win here!  Fluffy, chewy….so good!

1 whole egg (I used liquid egg whites)

1 cup Nutella

1 cup of all purpose flour

1/2 cup sugar

Note: I tasted the dough before adding the sugar and it was plenty sweet…but some of that sweetness baked out, so I would try adding 1/4c and add from there.

Mix it all in a bowl, roll into balls, bake at 350 for 10min on an Ungreased cookie sheet.  I had 12 cookie balls on a sheet (reference for size).

After the cookies cooled, I added the peanut butter glaze which added some sweetness.  Totally optional!

IMG_0995

Peanut Butter Glaze: Ease of Preparation – 10 Taste – 12!

1/2 cup granulated sugar

1/4 cup milk (I had half and half on hand)

1/4 cup creamy peanut butter (I used closer to 1/2 cup)

3tbsp butter

1/2tsp vanilla

Heat the milk and sugar on medium heat. (I stirred it with a whisk…made it frothy!)

IMG_0991

Once the sugar is dissolved, add in the peanut butter, then butter and the vanilla.  I continued with the whisk…took a couple of minutes for the peanut butter and butter to melt and blend.  I let the glaze cool for a few minutes and then spooned it over the cookies (see pic with Nutella cookies!)

This was easy and delicious, you could put it on anything you bake! 🙂

Creamy Balsamic Dressing/Spread: Ease of Prep- 12Taste- 9

These measurements are approximate, bc I put this together myself with no recipe.

1/2 cup of sour cream

4-5 tbsps. of balsamic vinegar

milk to thin this out to the consistency you want

garlic powder (to taste)

onion powder (to taste)

a few grinds of sea salt

dry basil

shake all ingredients in a blender bottle or in the blender.  The blender bottle made this easy for prep and clean up and it is incredibly fluffy!  This recipe will work for your tastes and you can alter however you want!  Have Greek yogurt on hand instead of sour cream?  USE IT!  Want to add other herbs or none at all…DO IT!

IMG_1089

I promise its not a chocolate shake!  The pic below is roma tomatoes, herb goat cheese, nitrate free bacon and my creamy balsamic!  AMAZING!!!!

IMG_1090

I hope you have enjoyed this tasty blog!!!!

Check out my Pinterest pages for tons of yummy treats!

Here is my main Pinterest page!


Thanks for reading and have a great day!

Until next time 🙂


Product Review – BeachBody, Proactiv +, Kraft, Crest White Strips and Kashi

Standard

Hellooo everyone!  This post is centered around products that I have used from Pinterest and less about things I have cooked or created.  Hopefully you will find something in this blog useful or know someone you could share the information with 🙂

So, lets start with Proactiv +!  I am 32 years old and struggling with acne.  While it’s not as bad as it could be, it is enough to make me uncomfortable…and the everyday makeup routine of cover this and hide that, is getting old.  I have to mention that I didn’t have acne as a teenager and my first real bout with acne was when I was 28yrs old.  I had somehow developed cystic acne…and not only was it hard to look at myself in the mirror, but it was painful.  Off to the dermatologist I went!  She told me that sometimes our hormones get thrown out of whack and this is the result.  GREAT, now give me a solution so I can get my life back!  She put me on an antibiotic regimen and gave me some prescription face wash.  While the acne cleared up before I was out of the medication, she had me continue taking it to make sure I didn’t have another flare up before my hormones settled down.  Well, here I am a few yrs later…suffering again (both cystic and regular acne).  The photo below shows some of the things I have tried…

IMG_0539

I realize that all of these things are topical and wouldn’t help the cysts, but I was desperate.  Some of it worked for a bit, but nothing seemed to be a long term solution, so off to the dermatologist I went.  She put me on antibiotics again (twice a day)…and it helped, but I was still playing cover-up everyday.  Finally one day I have a breakdown and ordered Proactiv+.  I was intrigued by the people on the commercials who were my age and not the normal teenagers you usually see.  I was also interested in this new “smart target technology” which supposedly helps get the medicine deeper into your pores where the problem is.   I ordered the items below (the basic package), plus the upgrade (mark fading pads and eye cream).

IMG_0540

I must say….I am VERY pleased with this new line!  I feel the products working on my skin and the moisturizer is AMAZING!  It doesn’t have SPF in it though, but they have one you can purchase that has it.  (this irritates me bc they know everyone should have SPF on their skin!) Whatever, ill gripe about that another time.  Oh and it came with the face mask, which is fabulous!  its an overnight zit zapper 😉

This picture is of the left side of my face on the day I received the products and then just 3 days later.  It’s a BIG difference.

IMG_0448

I still have some red marks, which is why I haven’t posted a more recent pic…but I can say that the stuff works!!!!  I have only have 2 new breakouts in the 2.5 weeks I’ve been using the products and they healed really quickly.  I’m hoping the marks continue to heal and fade!  I can say that while I am still using concealer, it is MUCH less and only to cover the red marks.  SCORE for Proactiv+!!!

Kashi Roasted Vegetable Pizza:

This isn’t a long review…but one I wanted to share.  I LOVE pizza, but since I’m trying to lose some weight, it doesn’t fit too well into my life right now.  Last week at the store I saw this Kashi pizza and decided to give it a try. 250cals for 1/3 of the pizza…I can live with that.  (I actually ate half!)  Anyway, my gripe isn’t about the taste, the price or the calories…it’s about the lack of toppings!  My pizza seemed to be lacking most of the roasted vegetables…10pieces of broccoli, a few onions and peppers…the end.  KASHI FAIL!  If I am giving up pepperoni, I expect toppings!

IMG_0520      IMG_0521

Kraft Fresh Take – Smokey Mesquite BBQ:

I don’t usually like prefab things like this, but I was feeling lazy and figured I would give it a try.  Plus, it was a great way for me to prepare chicken for the week for myself. Overall, it was OK.  The prep was easy, but the mix didn’t really stick to the chicken…it was more piling it on like the directions mentioned.  It smelled good in the oven and had a pretty good taste…BUT since the coating has cheese in it, the bottom of the chicken came out wet.  It didn’t taste bad, but if you are a texture person…I suggest skipping the “coating” step and just pile it on top.  This will give you crisp on top, while avoiding the wet mess on the bottom.  Also, leftovers…the wet bottom of the chicken congeals and makes for interesting reheating results.

IMG_0496

IMG_0495

They have a few different flavors, so try it for yourself!

Crest White Strips Supreme Professional:

Now after all that eating…it’s time to whiten!

IMG_0536

Just a heads up, I don’t have yellow teeth…but I am one who likes to brighten my smile!  I smile all the time, so this is a confidence booster for me 🙂  I have been using Crest White Strips for a decade or so and have always been pleased with the results.  For the past yr I have been using the 3D white strips with advanced seal and they are great.  They stick to my teeth and brighten my smile…in just 30min.  I also had my husband use them to prep for pictures and there was a HUGE difference in his teeth…HUGE!  Anyway, when I was at the dentist yesterday I saw these on the counter, inquired and purchased them.  I love trying new things and since they were roughly the same price of the ones in the store (around $60)…I was sold.  I used them today…and was immediately ANNOYED!  The strips are thin and super flimsy…the opposite of the ones I have from the drugstore.  They did have a good amount of whitening gel on them though…I put them on and right away they started sliding around.  SERIOUSLY!  come on Crest, get it together…these things are moving around like a cheap competitor of yours!!!  Needless to say, I stuck it out….they foamed up and didn’t hurt my teeth.  I guess time will tell if they whiten like the label claims…maybe i’ll look like a Hollywood actor in a few weeks!  But, in my opinion…stick with the Crest strips from the drugstore…they stick to your teeth better 🙂

21 Day Fix by Beach Body:

CONFESSION – I HATE working out and since I wasn’t blessed with a fast metabolism, being lazy makes the weight stick around…FAIL!  I have a few workout DVD sets, but after a few weeks they all end up on the DVD rack collecting dust.  Then I noticed that my cousin was promoting this deal for February…I did some research and decided to buy it.  The program is about portion control…essentially changing your eating habits throughout the 21 days.  It comes with color coded containers (each a different size), which represent veggies, fruits, proteins…etc.  Easy enough!  I did choose the option that came with the 30day supply of Shakeology, so I have a meal replacement factored into the plan.  My package came last night and after reading the booklets, I felt like this was something I could and would actually follow through with.  It’s a 30min a day workout (easy enough), 1 shake and eating the amount of food that corresponds with your caloric intake range. (all explained in the booklet).  NO calorie counting and NO buying special foods…it seems there is a way to fit just about anything into this eating plan…EVEN wine!  Only 3 glasses a week, but it’s better than nothing!  I did the first workout today…and while I wasn’t very graceful with it, I did manage to get through it without hurting myself or feeling like an out of shape loser!  SCORE!  I was sweating and sore by the end…win win!  I’ll report back once I finish the 21 days…but if you need a jumpstart or just want to lose a little weight, I suggest giving this a try.  Remember you don’t have to buy the shakes with it…you can just buy the 21 day fix!  Check it out and if you decide to try it, buy it through a Beach Body coach…its a bit cheaper than buying it from the main website.  (If you get the shakeology, try the chocolate.  The strawberry is ok…but not great.  They have vegan options too!)

The little chart in the picture is how you count the “containers” that you have eaten throughout the day.  It’s a LOT of food and there are snack options too.  So if you like chocolate or tortilla chips…you can have some!

IMG_0537

We have reached the end of this review blog and I am off to eat some more of my containers!  Protein and veggies for dinner 🙂

Until next time….keep reading! 🙂

Zucchini Crust Pizza…and Papaya Ice Cream

Standard

Hellooooo readers and fellow pinners 🙂  I am happy to start my week off with this tasty treat for you!  First, let me assure you that my two shared recipes here are separate, haha….zucchini crust and papaya ice cream don’t sound too appetizing together.

Ok, so let’s tackle the pizza first.  I am ALWAYS looking for ways to get my husband to eat vegetables (he needs fruit too, but that’s another blog entry!)…outside of green beans, mushrooms and white potatoes, I have to hide vegetables in his food.  It is a work in progress, but most of what I have tried has been a success.  Side Note: He does NOT like corn!  How is that possible?  I have tried to find the answer and have been left scratching my head 😉

While scanning Pinterest one day I came upon a recipe for zucchini crust pizza from, Seattle Local Food, and I thought I would give it a try.  (I have used zucchini in place of noodles in lasagna, with 100% success, so I thought this would be awesome!)  The recipe and assembly is simple, but I do think there is room for tweaking.  I will post the recipe and instructions first (add in my changes) and then what my suggestions are.

Zucchini and Cheese Crust Pizza – Taste Score: 9

Ease of Preparation: 8.5-9

Ingredients:

2-3 medium zucchini

1 large egg (I used 4tbsp of liquid egg white)

1.5c mozzarella or parmesan cheese (I used a roasted garlic cheese, see pic)

Pizza toppings of your preference

Directions:

Preheat your oven to 450 degrees

If using a pizza stone, put it in the oven while preheating.

Wash the zucchini.  Grate the zucchini. Ring out the water from the grated zucchini.  (press bw plates, ring with a clean towel…get as much water out as you can)  If you are using block cheese, grate the cheese too.

IMG_0316  IMG_0318

Put the grated cheese and the grated zucchini in a large bowl.  Add 1 large egg. Mix well.  (I added some garlic powder, salt, cracked pepper an minced dry onion…I like flavor!)

IMG_0319

Place parchment paper on the pizza stone and spread the mixture into a circle.  About 1/2″ thick.  (I used aluminum foil bc I don’t ever have parchment paper on hand. I also lightly sprayed it with a non stick spray. I also pressed the crust out thinner than 1/2″ in hopes of it crisping easier)

IMG_0320

Bake for 15-20min.

Take the crust out of the oven, add toppings and bake until toppings are cooked.  (the original recipe suggested sautéing vegetables before putting them on the pizza, but I added my mushrooms raw an it was fine)  I used Barilla marinara, pepperoni and raw mushrooms.  I also added about 1/2c of mozzarella cheese.

IMG_0322      IMG_0323

Note that the edges are dark.  This is where the edges thinned out as it cooked…its just crispy cheese! You can cut it off at the end if you want, but we ate it!  Let it cool before you cut it.  The cheese hardens and helps to set your crust.

IMG_0324

While this pizza looks perfect, it is not.  As you move toward the center from the outside edges, it gets a tad mushy…it stays together, but definitely not crispy and set like the outer inches.  My first thought was that the pizza stone wasn’t hot enough to brown the bottom, like it would have if I had just used foil or maybe a cookie sheet.  So, I took it off the pizza stone and popped it back in the oven to try and brown the bottom. I think it was too late for this.  We let it cool and gobbled it up…knife and fork style.  Next time I will try the cookie sheet and maybe try individual pizzas, so the “crust” gets browner and possibly more solid.  I was also thinking of adding some flour to the crust…this would soak up some of the water from the zucchini. (this is not an option if you are trying to go flour free!  Maybe add some corn starch?)  If you make this and try one of my suggestions or something new, let me know…I would love to hear how it turned out!

Regardless of the “not crisp” factor….it was full of flavor and seeing my husband eat veggies was a WIN WIN!

Now for dessert 🙂 

Papaya Ice Cream: 2 servings

Taste and ease of making score – both 10

1 sliced then frozen papaya (I am sure you could buy this in the frozen fruit section at the market, but here in Hawaii I have access to the fresh…so good!)

Vanilla Almond Milk (whichever one you like!)

Vanilla Protein Powder (optional)

Cube the frozen papaya and put it in the food processor. (you can use a blender, but my expensive Cuisinart blender has trouble blending bananas…user error? hahaha)

Add the almond milk and little at a time.  How much you use will depend on how much papaya you start with.  You are looking for a thick consistency, while also smoothing out any fruit lumps. (once I had the consistency right, I added a scoop of protein powder, bc I ate this for breakfast!)  Also, if you want a smoothie, simply add more almond milk.

IMG_0130

Healthy and tasty!  Just what my sweet tooth was looking for!

Happy cooking everyone!

Check out my Pinterest pages for more ideas!

http://www.pinterest.com/imsteph1982/

http://www.pinterest.com/imsteph1982/yummy-treats/

http://www.pinterest.com/imsteph1982/life-of-a-virginia-girl/

Wine glasses, pretzels, meatballs and chalkboard paint…OH MY!

Standard

WOW, this blog post has been several weeks in the making, but I hope you find it useful 🙂

Lets tackle the wine glasses first!  I have been busy pinning hand painted wine glasses on Pinterest and one day I said “hey, I think I can do that!”, so I gave it a shot.  I painted 4 wine glasses (two flowers and two polka dots) and they were SO cute!!!  I was pleased with how they turned out!IMG_0880 IMG_0585 IMG_0889IMG_0874

For these wine glasses, I bought $.99 wine glasses from Walmart and also bought acrylic paint from their craft section.  I did some research and came to the conclusion that this would work.  I used simple brushes for the flowers and circle sponge tips for the polka dots… seriously, this was a fairly cheap project!  Note: I did NOT bake these as some of my pins suggested, rather I put a layer of mod podge over the painted area.  The pink flower…some of the paint did chip off a little with washing…so I will be exploring different paints for use on glasses I will be drinking from.  But, if you are using the glasses (or whatever glass piece you are painting) as a decorative piece…the basic acrylic paints are fine.  I’m using the black and gold polka dot glass as a paint brush holder and it is super cute! Go with GLOSSY though!

NEXT – Pretzel bites!  Taste Score – 10!!!! 

My husband and I got home from the Super Bowl party and he goes “I wish we had more pretzels”….lucky him, I had stashed a bowl away for him! Score for the wife!

IMG_0213

IMG_0219 IMG_0218

IMG_0220

I snagged this idea from http://www.iheartnaptime.net/easy-homemade-pretzel-bites/

Ingredients

  • 1 1/2 cup warm water
  • 1 packet active yeast (or 2 1/4 teaspoons)
  • 11/2 tsp salt
  • 1 TB sugar (I used turbinado sugar)
  • 4 cups of flour (I used bread flour)
  • 3/4 cup baking soda
  • 1 egg (whisked) (I used egg whites in the carton)
  • Coarse salt (kosher or sea salt)

Instructions

  1. Preheat oven to 425°. Line a baking sheet with a baking mat or parchment paper and set aside.
  2. In a small bowl add warm water and yeast. Allow to sit for 3-5 minutes. Add salt and sugar and stir.
  3. In a large bowl add flour and then pour yeast mixture over top. Knead with bread hook in your mixer or by hand for approximately 5 minutes.
  4. Separate dough into 6-8 sections. Roll dough into ropes about 15-20 inches long and 1 inch thick. Cut with scissors into 11/2 – 2 inch pieces. Then cut a “t” or “x” on the top of the pretzel with scissors.
  5. In a large pan bring 3 quarts of water + 3/4 cup baking soda to a boil. Once water is boiling place about 8 pieces of dough into the water for about 30 seconds. Remove with slotted spoon and place pretzel bites onto baking sheet. Brush dough lightly with egg and sprinkle salt on top.
  6. Bake for 8-10 minutes. You can turn the oven to broil for the last minute to brown the tops. Remove pretzel bites to a cooling rack and brush tops with melted butter.  (watch the time, I overcooked my first batch a bit…I cut it to 7min.)

Just a few things that I did differently…I made 5 sections of dough, I made some without the cut in the top (this was my way of saying “no salt on top”) and the last two sections, I cut the dough pieces in half, which made little squares instead of the longer pieces.  (both are pictured)  I also made a batch of cinnamon sugar ones, which were a huge hit!

Note: While they were tasty at room temp, they were BEST when right out of the oven.  Maybe you can complete the par boiling step, put on a lined pan and bake as needed for your party?  I think I will try this next time.

Meatballs! – Who doesn’t like meatballs?  Taste Score 10! Easy score – 10

What you need – Crockpot

2 bags of home-style meatballs

2 bottles of Heinz chili sauce

1 jar of grape jelly

Mix the sauce (chili sauce and grape jelly), add the meatballs, and cook on low for 4-5hrs.  You can cook them on high for 3hrs if you are in a rush!  (if you have never heard of this, give it a try…southern women have been taking this to parties and tailgates for years!)

Finally – Chalkboard Paint

I have seen TONS of super cute chalkboard crafts on Pinterest and have pinned several of them, looking for ideas.  One day I decided I was tired of the painting print in my hallway…so I thought it would make a great giant chalkboard!  And in the event I decide I like the print again, all I have to buy is a new piece of glass for the picture!

Side Note: My husband and I have the WORST memories, so I thought this would be a great in your face way to make sure we don’t forget things!

I used Krylon spray on chalkboard paint…it was AWFUL!!!!  It was very thin, ran down the can on the first spray and even ran when I “lightly” sprayed it on the glass.  I know the best way to spray paint is to paint several light layers…and in this case, NOTHING worked.  The paint ran and ran and ran…FAIL!  Also, the finish on this doesn’t feel anything like a chalkboard, its more like a semi gloss black paint.

IMG_0138

Needless to say, this project is currently in STALL mode.  I received a tip from a friend to use the chalkboard paint in the can, so I will be trying to fix this FAIL and will post an update once it is done.

Unfortunately, I must close this post and get started on some homework!  Grad School work is NO joke!

Tune in next time and check out my Pinterest page!  Thanks 🙂

http://www.pinterest.com/imsteph1982/yummy-treats/

http://www.pinterest.com/imsteph1982/a-crafty-me/

http://www.pinterest.com/imsteph1982/life-of-a-virginia-girl/

Southern taste buds!

Standard

Hellooooo blog readers!  Today’s entry is about simple Southern desserts…made easy…and a bit more difficult 🙂

Let me give you some background on why I picked these desserts from Pinterest….   I am a graduate student, working towards my Masters in Education and Teaching and I consider myself a pretty responsible adult, so when I was presented with a “snack sign up list” for not one but TWO of my grad classes, I was incredibly annoyed and immediately went on the defensive.  My thought was that I am an adult and I know I’m going to be in class for 5hrs, so I had better bring a snack for myself…and the last time I heard of a snack list was on the little league field.  Honestly, why do I need to bring a snack for someone else who hasn’t also signed up for snack duty?  Apparently I’m a lone thinker (well, almost alone)….so despite my verbal efforts to gain support for NO SNACK list, my efforts failed….even I caved.  I guess I caved under pressure or maybe just to get it over with and then I never have to worry about it again.  Either way, that brings me to my two “snack duty”  snacks, developed from things I have pinned from Pinterest!

In my quest for all things pumpkin, I found a recipe for chocolate pumpkin bites…though I wasn’t sure about the combination.  Needless to say, I changed the combination and created some different snacks that were super easy and around $5 to make.

Snack #1 – Chocolate Blueberry Cake Bites (big hit with my class and my teacher’s daughter! I sent her own with the leftovers!)

Ingredients: Devil’s food cake mix and blue berry pie filling

Mix the two ingredients, spray non-stick mini muffin pan, fill muffin cups a little more than half full.  Bake at 325 for 10-12min.  These will stay a bit gooey in the middle, but since there is no egg or dairy, this is fine!   Yields aprx. 36 mini bites

3b62084a4efa957e6a42313bfc762cf5

Snack #2 Pumpkin bites and cinnamon rice pudding (this was me bringing some of my Southern taste buds to Hawaii! You can take the girl out of the South, but you cant make her leave her taste buds behind!)

Pumpkin Bites ingredients:  Yellow cake mix and a small can of pumpkin (NOT pie filling), real vanilla extract and cinnamon.  Note: I doubled the recipe so I used the big can of pumpkin and two boxes of cake mix.

Mix the cake mix and pumpkin in a large bowl. (this may take a few minutes and some arm power, as the batter is STIFF!)  Then add a few splashes of vanilla and some cinnamon.  How much cinnamon depends on your liking of the spice…I added a few teaspoons and then tasted it. (tasting is ok here, bc there are no eggs)  If you want more…add more!  If you want to make it more of a pumpkin pie taste, then add some nutmeg too.  Thoroughly mix and cover with foil.  Let the mix proof in the refrigerator overnight. (I made the mix Monday evening and made the bites Tuesday night)

Spray mini muffin tin or use mini muffin papers, set oven to 325.  Scoop batter into a Ziploc baggie, seal the bag and trim off the corner.  Pipe the batter into the muffin pan, roughly 3/4 full. (the baggie method helped me get more even muffins)  Bake for 10-11min.  Enjoy!!!!!!  These little bites are pillowy puffs of pumpkin yumminess! Yields aprx. 72 mini bites for the double batch

IMG_0361

Snack #2 part two – cinnamon rice pudding

This is a recipe that I pinned from Pinterest and for those of you who know me, I have a hard time following a recipe…meaning, I simply don’t use them! haha  SO, I started this by following the recipe, but as things didn’t seem to be working, I changed it and it turned out to be simply amazing!  (I made a triple batch for this, so my ingredient list is just for one)

Ingredients: 2cups of rice, 2cups of milk, 1/3c raw sugar, 2 cinnamon sticks, 2 eggs, ground cinnamon, 1 half stick of butter, vanilla, cornstarch, water

Cook your rice, with the cinnamon sticks in the water.  Drain. Put back in the pot.  Add two cups of milk (I used 2%), sugar and vanilla…cook until thick, over medium heat.  (Note: The Pinterest recipe now calls for you to add an additional 1/2c of milk, with the butter, eggs and vanilla.  My pudding wasn’t as thick as I thought it would be, so I didn’t add the additional milk.)  Add your egg whites, butter and vanilla. (make sure you temper the eggs before adding them to the pot, so you don’t end up with scrambled eggs!)  Continue cooking and stirring, until it thickens to your liking.

Now this is where the trouble begins….my pudding was more like a thick soup.  I had already eliminated some milk from the original recipe, so the only thing I could think of was that the egg whites I used instead of whole eggs or even yolks, didn’t have the thickening power needed.  So, I cranked up the heat and cooked…and cooked…and cooked!  Still needed thickening, so I mixed a few tablespoons of cornstarch and water and added that to my pudding…JACKPOT!!!!!!!  Added a few shakes of the ground cinnamon, allowed to cool and I was on my way!  (serving warm is fine too!)

IMG_0363

My class LOVED these southern snacks, so despite the fact that I don’t think I need to be providing adults with snack, I did and it was a success!  Southern hospitality 🙂

Finally, as a snack for me and my mentor teacher at school, I made Peach Cobbler Bites:  325 for 10-11 min  (next time I may add some cinnamon…)

b81fc0ab7ef7d29b583e20b117222acc

I hope you have enjoyed this tasty journey!  Now go get cooking!

Check out my yummy treats page on Pinterest

http://www.pinterest.com/imsteph1982/yummy-treats/

Crafts with corks!

Standard

Hellooooo everyone!  I am starting this blog to write about my experience working through my pins on Pinterest!  If you are anything like me, you pin and pin and pin….but rarely make or buy anything that you pin.  I seriously just get caught up in the moment and pin like crazy, but a few days ago I started wondering if I would actually benefit from anything I pinned…so hopefully this blog will be a way for me to commit to working through the hundreds of pins that I have.  Pretty certain the “yummy treats” board has almost 150 pins and my DIY and Crafts boards have dozens and dozens, so I have a LOT of work to do.  As I move through my pins and blogs, please feel free to ask questions or leave comments about the things I post!

My first cork crafts:  Do you drink wine?  Before I moved here, I drank a TON of wine and kept the corks…never really had a reason to, but I did and after several years of collecting, I have quite a lot.  Until I started on Pinterest, I didn’t have many ideas for these corks, so they sat in various vases and became floor décor 🙂 haha  original isn’t it?!?!  ok, so the first craft….a cork letter.  My last name starts with an L, so I thought this would be a great little something to hang on the wall in my apartment.

Materials Needed:  Corks (# varies), glue gun with glue sticks, wooden letter, knife                 NOTE: Wax or plastic corks wont work bc the glue wont adhere to them.

The pin on Pinterest had you gluing the whole cork to the letter, but I thought that was a waste of corks, so I cut mine in half. (you don’t have to do this step!) BE CAREFUL, bc this was not a super simple task.  The cork is rather stiff, so it was a bit hard to cut.  I did manage to cut them all with a sharp serrated knife…slowly and with gloves on.  An electric knife may work better, but I don’t have one.  Once you halve your corks, arrange the corks on your letter, so you can figure out how they lay best.  As you see in my pictures, I let my corks extend over the letter, so there is overhang…making the letter bigger.  After you have them arranged the way that you want, take a picture of it.  This way you have the exact template to use while gluing them.  Glue each cork to the wooden letter until the entire letter is covered.  Let it set for a good 30-60min, ensuring it is dry and not going anywhere.  Then you’re done!  I didn’t put a hanger on mine, bc it leans up against the wall, but you could always add a picture hanger or glue on some pretty ribbon or rope for a hanger.  BTW, I bought the letter at Ben Franklin for $5 (I think it was on sale).  They also sell wine corks if you want to do this craft but aren’t a drinker!

IMG_0332 IMG_0333

Craft #2 – Cork card holder

Materials needed: Corks, glue and glue gun, hanger of choice (I used hemp rope) NOTE: Wax or plastic corks wont work bc the glue wont adhere to them.

As with the first craft, lay the corks on the wood, to make sure you have enough corks to complete the project.  Once you have the correct amount of corks, glue them on the balsa wood, making sure to keep it all centered.  After all of the corks are in place, let is set for 30-60min to make sure it all dries and sticks.  Then, glue on a hanger of your choice!

Note: when hanging a card, make sure to push the pins in easy or you may pop a cork off.  The bond is NOT like super glue, so take it easy.

IMG_0330 IMG_0331

Until next time!  Keep on pinning 🙂